Image Comparison shows the difference between two stages of an image. As a result, a customer can easily figure out the changes in the image. If you are using WordPress Gutenberg Editor to format your content and you are feeling the need of showcasing this type of image comparison in Gutenberg, then this post will help you a lot.
Gutenberg Editor provides some default blocks where you won’t find any block that can satisfy your need for showcasing image comparison. For this reason, we have to find out a simple, lightweight block plugin that will provide us with an extra Gutenberg block to satisfy our needs.
After a long research on different block plugins, I became disappointed and finally, I decided to bring a minimal block plugin that can satisfy the need of showing image comparison in Gutenberg. Finally, I have released the block plugin. Today I will present the block step by step so that you can easily follow this and show your own image comparison in your favorite editor.
Image Comparison Block Installation and Activation
Before going to start using the block, first install and activate the Image Comparison Block plugin. It is a simple, light-weight and super-fast block plugin that comes with the following extraordinary features:-
Add Comparison Block in Gutenberg Editor
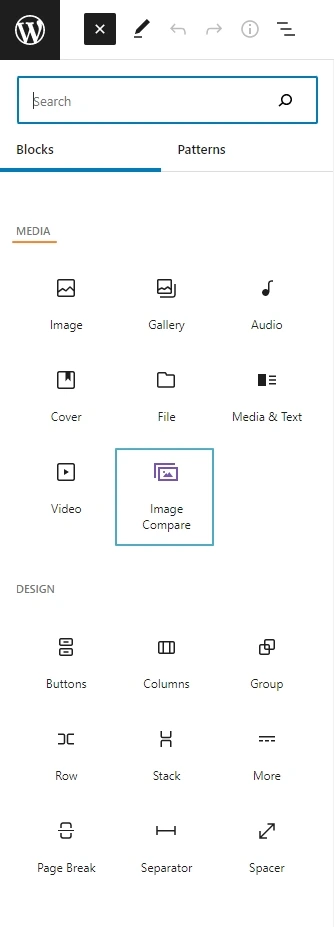
Once you finish the plugin installation and activation, you will find an extra custom block in your block’s inserter library. It looks like the following screenshot-
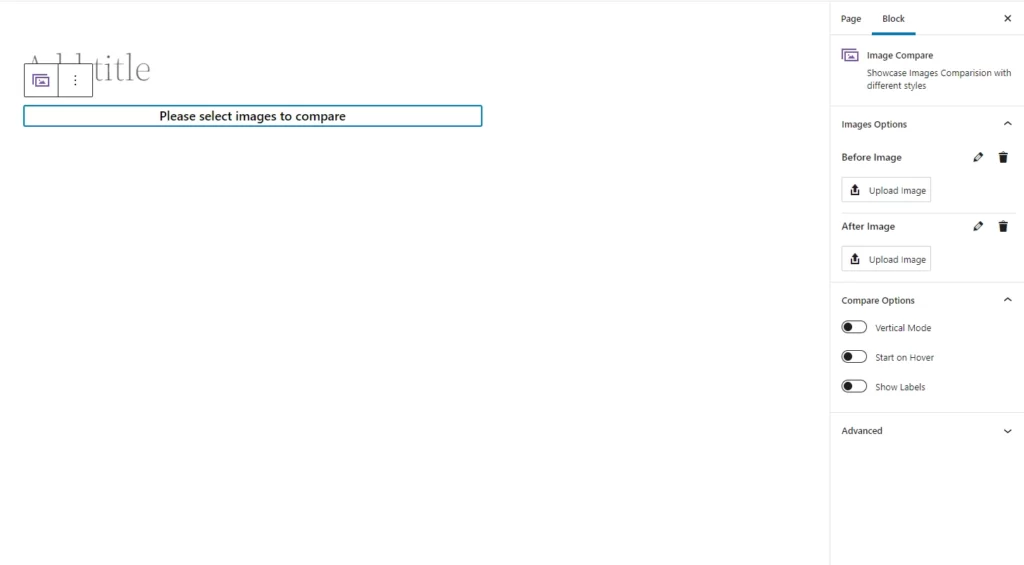
Now, simply drag and drop or click on the block icon to add the block in the editor area. By default, it looks like the following screenshot until you add the before and after image.
Add Before and After Images
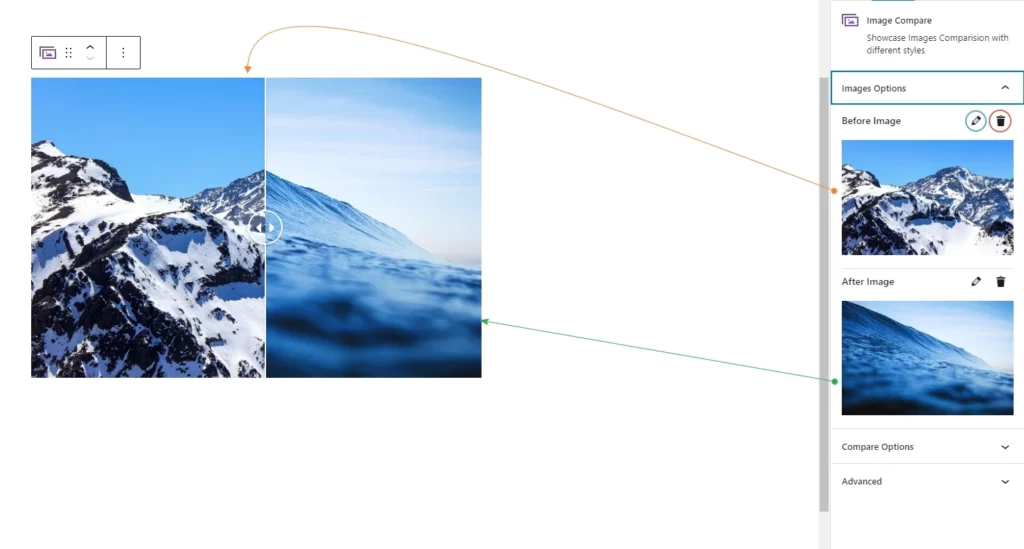
Now, it is time to add the before and after images to see the image comparison. You will find the Images Options pane on the right side where two upload buttons are available to upload the before and after images. So, use these buttons to upload the images. In addition, you can also edit or delete the images after adding them.
Once you add both images, you can see the image comparison is now visible in the Editor area. That’s the default result of this block. See the screenshot-
Customize Settings for Image Comparison in Gutenberg
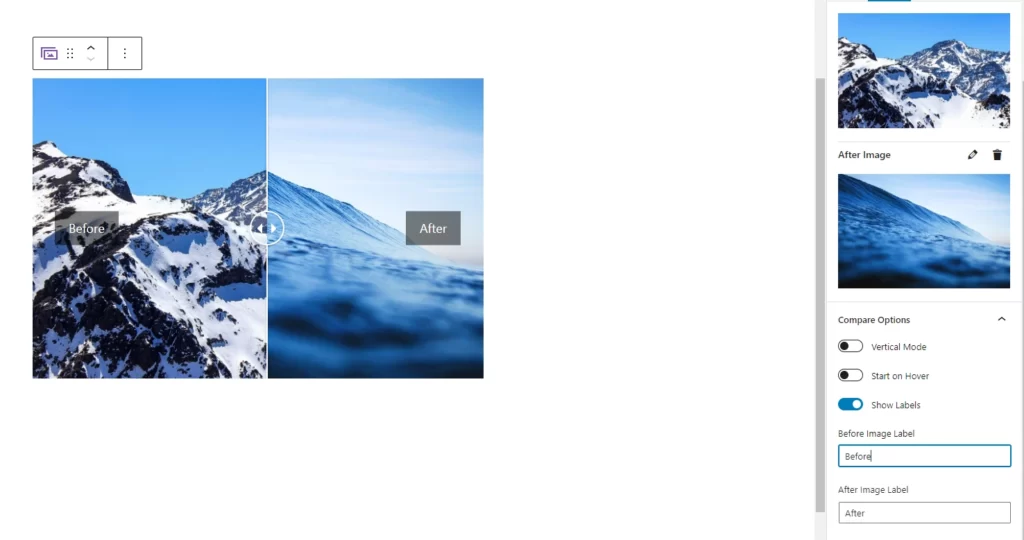
If you want to customize the default behavior and make your own output, you can easily customize it as per your need. To do that, you have to open the Compare Options panel on the right side. Suppose, I want to show the before and after labels. So, simply enable the Show Labels option and you will find two fields to add custom labels. Once you finish it, you will find the following result:-